Rainwater Tank Installation in Quakers Hill: What the Process Involves
| Quick answer: Rainwater tank installation in Quakers Hill follows six stages: a site assessment to size the tank and pick a location, a check against NSW planning rules and Blacktown City Council requirements, base preparation, positioning of the tank, the plumbing connection (downpipes, first flush diverter, overflow to stormwater, pump and any backflow protection), then commissioning and compliance paperwork. A straightforward above-ground residential tank is often installed in one to two days once the base is ready. Any work that connects the tank to internal fixtures or to the mains supply must be carried out by a licensed plumber. |
On this page
- Why Quakers Hill homes suit rainwater tanks
- Stage one: the site assessment
- Stage two: approvals and NSW rules
- Stage three: base preparation and positioning
- Stage four: the plumbing connection
- Stage five: commissioning and compliance
- How long the job takes
- Looking after the tank afterwards
- Frequently asked questions
Most people who ring us about a rainwater tank have already made the decision. What they actually want to know is what happens next. How much of the yard will be dug up? Does the council need to be involved? Will someone be pulling apart the downpipes for a week?
Rainwater tank installation is more predictable than it looks from the outside. There is a sequence, and each stage has a clear purpose. Understanding that sequence makes it much easier to plan the job, compare quotes properly, and spot when something has been left out. Here is what the process involves for a typical Quakers Hill home.
Why Quakers Hill homes suit rainwater tanks
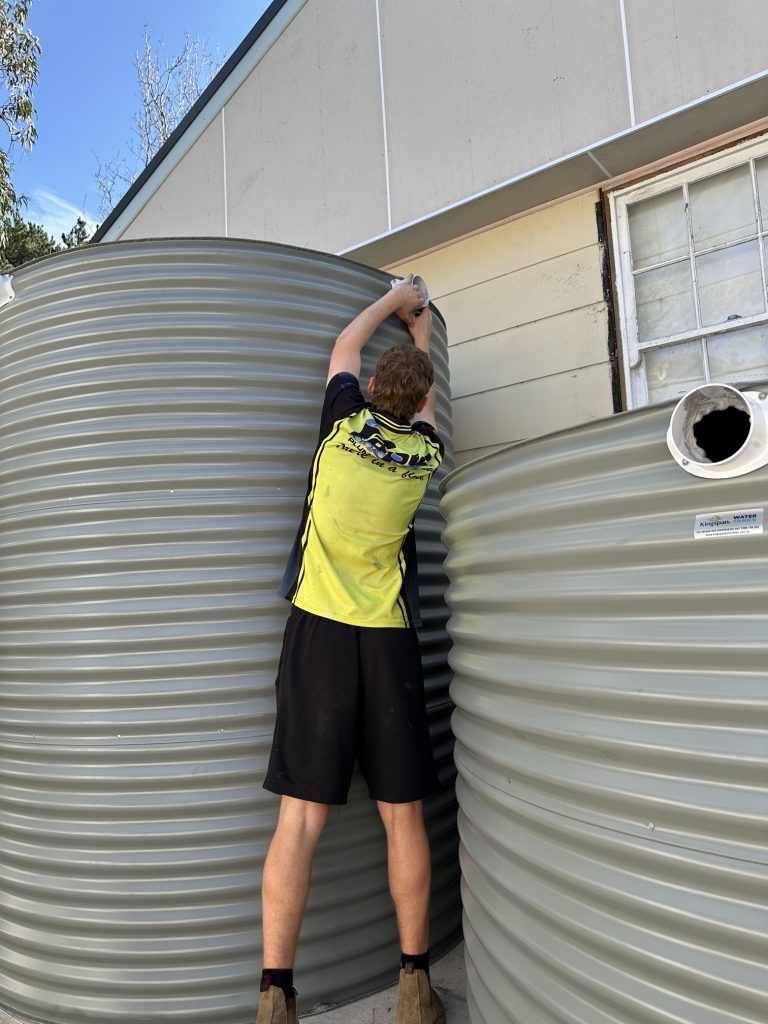
Western Sydney gets its rain in bursts. Long dry stretches, then a storm that dumps a month of water across a couple of afternoons. That pattern is exactly what a tank is built for.
The suburb helps too. Most Quakers Hill housing sits on standard residential blocks with a decent roof area and a side yard or rear corner doing nothing useful, which is often all the footprint a slimline or round poly tank needs. Newer estates around the area were frequently built with tanks already plumbed in under BASIX requirements, so replacing or upgrading an existing tank is a common job here rather than an unusual one.
There is a drainage benefit as well. Water captured by a tank is water not running straight into an already loaded stormwater system. A tank will not fix a yard that pools after every storm, since that usually points to a separate underlying issue, but it does take a share of the roof runoff out of the equation. Our guide to blocked drains in Quakers Hill after heavy rain covers what else to look at.
| Still weighing it up? If you are in the research stage and not ready to book anything, have a look at our overview of rainwater tank and pump installation to see what a typical setup includes. No obligation, just the detail. |
Stage one: the site assessment
Everything else depends on this visit. A plumber walks the property and works out three things: how much water the roof can realistically deliver, what you intend to use the water for, and where the tank can physically go.
Roof catchment matters more than people expect. Only the sections draining to the downpipes you plan to connect actually count, and sometimes the biggest run of roof drains to the wrong side of the house. The practical catchment is often smaller than the total roof area suggests.
Intended use drives the sizing. A tank feeding a garden tap can be modest. A tank plumbed to toilets and the laundry needs to hold more, because it is drawn down daily rather than seasonally. Be honest at this stage about what you want, because retrofitting internal connections later costs considerably more than including them from the start.
Then there is the location. The assessment looks at ground conditions, distance to the nearest suitable downpipe, access for delivery, proximity to boundaries and windows, and where the overflow can safely discharge. Slimline tanks along a side fence are popular here for good reason, though they trade capacity for footprint. Our post on things to consider for water tank installation goes deeper on material and shape.
Stage two: approvals and what the NSW rules require
This is the part most homeowners worry about, and usually the part that turns out to be simpler than feared.
In New South Wales, above-ground rainwater tanks can often be installed as exempt development under the State Environmental Planning Policy (Exempt and Complying Development Codes) 2008, commonly called the Codes SEPP. Exempt development means no development application is needed, provided the installation meets every one of the standards set out in the policy. Those standards cover things like tank capacity, setbacks from boundaries where the tank is above a certain height, restrictions on heritage-listed and environmentally sensitive land, mosquito-proofing, first flush arrangements, overflow connection to the existing stormwater system so it does not discharge onto a neighbouring property, and enclosure of pumps to control noise.
The important word there is “every”. Miss one standard and the exemption does not apply, which means development consent from Blacktown City Council is required before the work starts. Because the criteria depend on your land zoning and the specifics of your block, it is worth confirming your situation with the council directly rather than assuming. A plumber who installs tanks regularly in the area will usually flag anything likely to be a problem during the site assessment.
Separately from planning approval, there is the plumbing side. Connecting a tank to internal fixtures such as toilets and washing machines, or arranging any interaction with the mains water supply, is regulated plumbing and drainage work in NSW. It must be done by a licensed plumber, and it carries its own notification and certification obligations. A garden-only tank with no internal connection is a much lighter proposition on this front.
Stage three: base preparation and positioning
A full tank is heavy. Ten thousand litres of water weighs roughly ten tonnes before you count the tank itself. That load has to sit on something level, stable, and properly compacted, or the tank will settle unevenly and stress its own walls and fittings.
Depending on the tank and the ground, the base is usually a poured concrete slab, a compacted crusher dust or road base pad with edging to contain it, or a purpose-made stand for smaller units. Poly tanks need continuous, even support across the whole footprint rather than bearing on a few high points. Steel tanks have their own manufacturer requirements, and following those matters for the warranty as much as the structure.
Ground preparation is where time gets added. If the spot slopes, needs excavation, or has old paving or tree roots in the way, that happens before the tank arrives, and concrete needs curing time on top. This is the most common reason an installation runs longer than the homeowner expected, so ask about it specifically when you get a quote.
Once the base is ready the tank is delivered and positioned. For most residential poly tanks this is quick. Larger or steel tanks may be assembled in place.
| Comparing quotes? Make sure each one spells out the base work, the number of downpipes being connected, whether a pump is included, and who handles the overflow connection. Those four line items are where quotes diverge most. If you would like a clear, itemised quote for your property, our plumbing services team can walk the site with you and put it in writing. |
Stage four: the plumbing connection
This is where a rainwater tank becomes a working system rather than a container in the yard. Several components are fitted, and each one exists for a reason.
Downpipe connection and inlet
The selected downpipes are cut and redirected into the tank inlet, usually through a leaf guard or screened inlet that keeps debris and insects out. Getting the fall right here matters, because water needs to move freely to the tank without backing up in the gutters during heavy rain.
First flush diverter
The first run of water off a roof carries the most dust, bird droppings and leaf litter. A first flush device diverts that initial volume away from the tank and then resets itself, so what is stored is noticeably cleaner. It is a small component that has a large effect on water quality and on how often the tank needs cleaning.
Overflow
Tanks fill and then keep receiving water. The overflow must be connected to the existing stormwater drainage system, discharging in a way that does not run onto a neighbour’s land or create a nuisance. This is one of the conditions attached to the planning exemption, and it is also simply good practice. An overflow dumping into a garden bed will eventually undermine the tank base.
Pump and outlets
Gravity feed alone rarely gives useful pressure, so most installations include a pump. The pump is sized to the intended use and located where noise and access are both manageable, typically in a soundproofed enclosure. From there, outlets run to garden taps, and if the system extends indoors, to toilets and the laundry cold tap.
Mains top-up and backflow protection
If you want the system to switch to mains water when the tank runs dry, that changes the job. Any arrangement where tank water and the reticulated supply could interact needs proper backflow prevention so rainwater cannot enter the drinking water network. This is regulated work with specific requirements under the plumbing standards, and it is not an area for improvisation. Talk to a licensed plumber about whether a top-up arrangement is right for your situation and what it requires on your property.
Stage five: commissioning, testing and compliance
Before anyone leaves, the system gets tested: tank sitting level and stable, water run through to confirm the inlet, first flush and overflow behave, pump tested under load, outlets checked for pressure and leaks, screens and lids sealed against mosquitoes and vermin.
Where the work is notifiable plumbing and drainage work, the licensed plumber is responsible for the certification and paperwork. Keep whatever documentation you are given. It matters at sale time, for warranty claims, and for any future plumber trying to understand how the system was put together.
Ask for a short handover too: where the isolation valves are, how to switch between tank and mains if you have a top-up, how to service the first flush device, and what the pump should sound like normally. Five minutes there saves a lot of guessing later.
How long rainwater tank installation takes
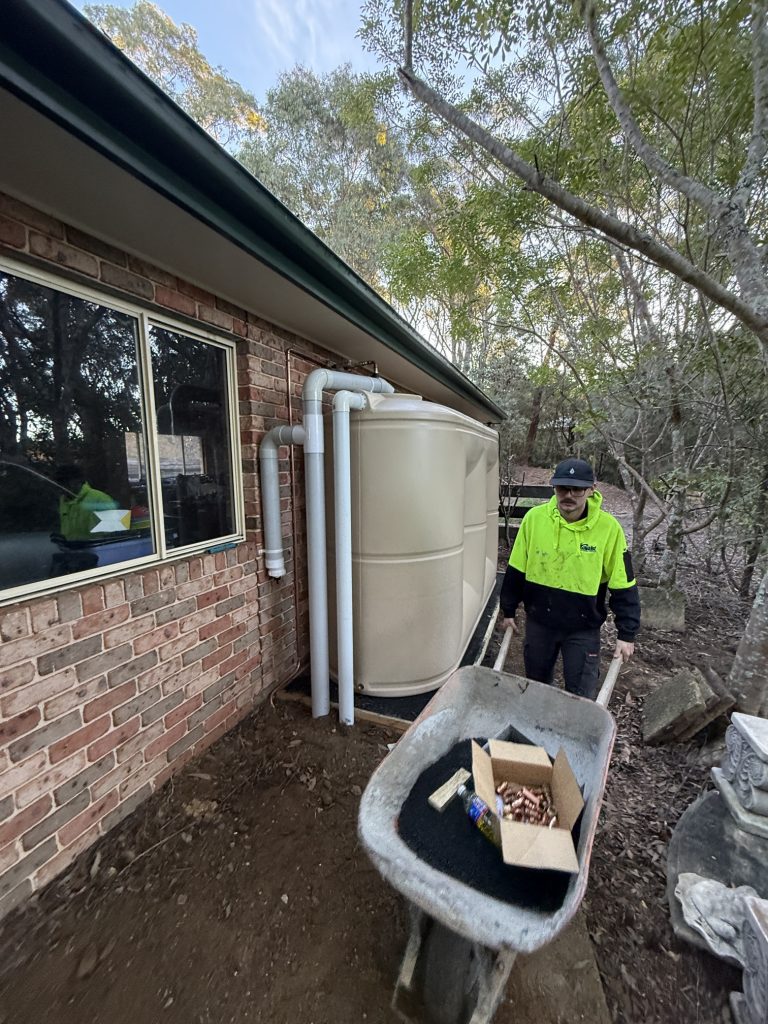
A straightforward above-ground residential tank, garden use only, on ground that needs little preparation, is often completed in one to two days on site.
What stretches that out:
- Concrete bases that need to be poured and cured before the tank arrives
- Excavation, retaining or removal of existing paving at the tank location
- Internal connections to toilets and laundry, which involve work inside the house
- Mains top-up and backflow protection
- Difficult access for delivery on tight or heavily landscaped blocks
- Any situation where council consent is required rather than the exemption applying
None of these are unusual. They just need to be identified at the assessment stage rather than discovered halfway through.
Looking after the tank once it is in
Rainwater tanks are low maintenance, not no maintenance. Clear the gutters and leaf screens seasonally and after storms, service the first flush device on the interval the manufacturer specifies, inspect the tank and fittings for leaks a few times a year, and check the overflow still discharges cleanly to stormwater.
Pumps are the component most likely to need attention. Short cycling, loss of pressure, running when no tap is open, or refusing to start are all worth investigating before the pump fails completely. Our general plumbing services cover tank and pump servicing, and if it fails at a bad moment, emergency plumbing is available around the clock.
Key takeaways
- The process runs in a set order: assessment, approval check, base, positioning, plumbing connection, then commissioning.
- Sizing should follow intended use, because retrofitting internal connections later is significantly more expensive.
- Above-ground tanks can often be exempt development in NSW, but only if every condition in the Codes SEPP is met. Confirm your specific situation with Blacktown City Council.
- Base preparation is the stage most likely to extend the timeline. Ask about it when you compare quotes.
- First flush diverters, correctly connected overflows and backflow protection are not optional extras. They are what makes the system compliant and the water usable.
- Internal connections and any interaction with the mains supply must be done by a licensed plumber.
Frequently asked questions
Do I need council approval for a rainwater tank in Quakers Hill?
Often no, because above-ground rainwater tanks can qualify as exempt development under the NSW Codes SEPP. That only applies if the installation satisfies all of the relevant development standards, including capacity, setbacks, overflow connection and mosquito-proofing. If any condition is not met, or if your land is heritage listed or otherwise restricted, development consent from Blacktown City Council is required. Check your specific circumstances with the council before work begins.
What size rainwater tank should I get?
It depends on your roof catchment area, how you plan to use the water, and how much space you have. A tank supplying garden taps only can be much smaller than one plumbed to toilets and the laundry, because the daily draw is lower. A site assessment is the reliable way to arrive at a number.
Can rainwater tank water be used inside the house?
Yes, commonly for toilet flushing, the laundry cold tap and outdoor use. Connecting a tank to internal fixtures is regulated plumbing work in NSW and must be carried out by a licensed plumber, with appropriate protection wherever the tank supply could interact with the mains. Using tank water for drinking involves additional considerations and is a separate conversation with your plumber.
How long does a rainwater tank installation take?
A simple above-ground tank for garden use is frequently completed in one to two days on site. Concrete base curing, excavation, internal plumbing connections, mains top-up arrangements or difficult site access can extend that. Your plumber should be able to give you a realistic timeline after the site assessment.
Do I need a pump with a rainwater tank?
In most cases yes. Gravity feed alone rarely produces enough pressure for a garden hose or for internal fixtures. The pump is sized to your intended use and is usually housed in a soundproofed enclosure, which is also one of the conditions attached to the planning exemption for tanks in NSW.
What maintenance does a rainwater tank need?
Clear gutters and inlet screens seasonally and after storms, service the first flush diverter as the manufacturer specifies, check fittings and the tank for leaks a few times a year, keep the overflow path clear, and pay attention to changes in how the pump sounds or cycles. Early attention to the pump usually prevents a complete failure.
| Ready to get your tank installed? Local Quakers Hill Plumber has been handling rainwater tank and pump installations across Quakers Hill and the surrounding Blacktown suburbs for years, from single garden tanks to full internal connections. We will assess your site, tell you honestly what your block will and will not allow, and give you an itemised quote before anything starts.Call 02 9158 3597, available 24/7, or get in touch online to book a site assessment. |